There is a saying out there that goes something like, “the fastest way to a man’s heart is through his stomach“. For James (my husband), it is more like the fastest way to his heart was presenting him with a box of doughnuts. But now that I make them? Let’s just say I have him locked down.
Ingredients:
- 1 Cup of sugar
- 2 eggs
- 2 Tablespoons of melted butter
- 1/2 teaspoon of baking soda
- 1 Cup of buttermilk
- 2 Cups of flour
- 4 teaspoons of baking powder
- Enough oil to fill your pan for frying the doughnuts (I used Canola)
Instructions:
- Cream the butter and the sugar together for at least 2 minutes on high speed (you want a fluffy creamy look)
- Add in eggs one at a time and mix until uniform
- Add in butter mix and mix
- Sift together in a separate bowl: baking soda, flour, and baking powder
- Slowly add in your flour mixture (this is going to make a very sticky thick dough!)
- Once your dough is mixed until uniform you can take it out of the mixer. In order to place your dough into the hot oil and cook it you need to place it into pastry bag(s) so you can pipe the super sticky dough into the oil. (if you decide not to do this that is fine, it was just what I found that was easiest)
- Your oil should be deep enough for the batter to sink below the surface and then come back up when it is time to flip.
- Heat the oil at a medium high heat. Don’t add your dough in too early or else it will take too long to cook. Grandma’s advice: when you are checking to see if your oil is ready, stick a wooden spoon in it. If it bubbles — you’re ready to go!
- When your oil is ready pipe your dough in! I did the classic dough nut shape but you can make whatever shape you want
- Let the dough sink to the bottom when you first pipe it in. It will float to the top when it is time to flip. Cook each doughnut until they are golden brown on each side. Watch them carefully because they can tend to cook fast!
- Place your cooked doughnuts on a paper towel covered drying rack and dab dry to get rid of any excess oil
- Sprinkle with powdered sugar to give it that finished look!
You know I don’t think there is anything better than freshly made doughnuts. The smell alone makes me feel all warm and fuzzy inside. However making this recipe came with challenges I was not anticipating. You see, Grandma left out how to put the batter in frying oil so I had to think on my feet. Thank god I was watching the Great British Baking Show and watching people pipe out their choux pastry! If it was not for that I had no idea what I was going to do.
You see one of the “fun” struggles about family recipes is that half the time, Grandma was an expert in the kitchen so all she needed to do was remind herself of the basics. I’m sure she probably didn’t think that 56 years later her granddaughter would be writing a blog and posting all of her recipes on the internet. I think it is one of the reasons a lot of family recipes don’t end up getting used. Rich delicious family history stays dusty instead of eaten because it can be too much work to try and figure out what happens once all of the ingredients are finally mixed together.
I want us all to enjoy the edible family heirlooms we have more often! Here are three tips to helping you decipher those family kitchen secrets that I have learned since starting this journey:
- If you can read the title you are off to a good start . . . if you at least know what the recipe is going to make my biggest piece of advice is to google basic similar recipes. That way if you can’t tell if grandma wrote down baking soda, or baking powder you can make an educated guess
- Practice! Take it from me, not every recipe is going to turn out the first time. However, making something more than once enables you to learn from your own mistakes or at least get a clearer view on what steps you need to fill in and better yet how to improve the recipe!
- Family memories – while the person that had written down the recipe might not be around any longer, usually you can find someone who has enjoyed it before. Take these doughnuts for instance. I could not get over the fact that I could not make them look pretty (I’m a perfectionist – it’s my biggest strength and my biggest weakness). When I told my dad I was trying to make Aunt Agnes’s doughnuts he immediately remembered them being delicious but looking “odd”. He told me that Agnes would bring them over to the house for special events and they would always smell amazing and fill up the kitchen with a thick sugary scent. Not only was it fun to hear he had these as a kid but it reassured me that I was potentially on the right track.
Hopefully this post encouraged some of you to pull out the family recipe book and try something you felt intimidated to do. Maybe my tips even helped you finally solve that last piece of the puzzle you needed to finish some missing instructions of your own! Either way I’d love to hear about it. I’ll keep the kitchen light on for you and if you need any help deciphering rich family recipes I’m all ears!
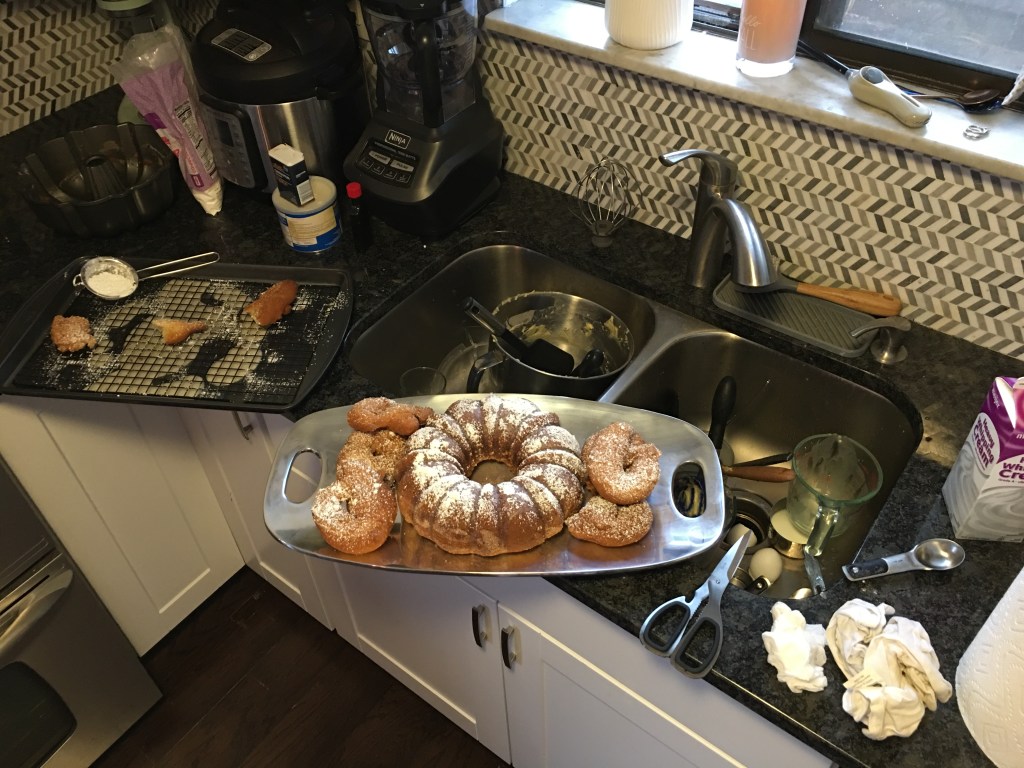
Behind the scenes to all of the pretty pictures 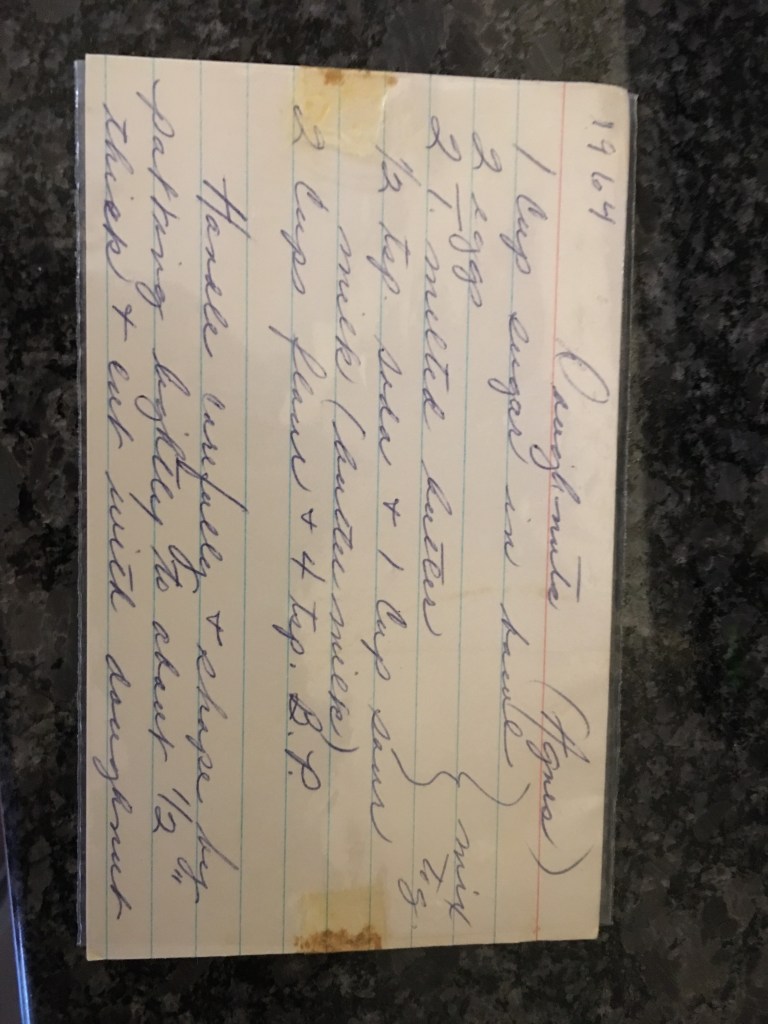
It takes me FOREVER to decipher some of these recipes guys. I mean look at this tiny cursive! 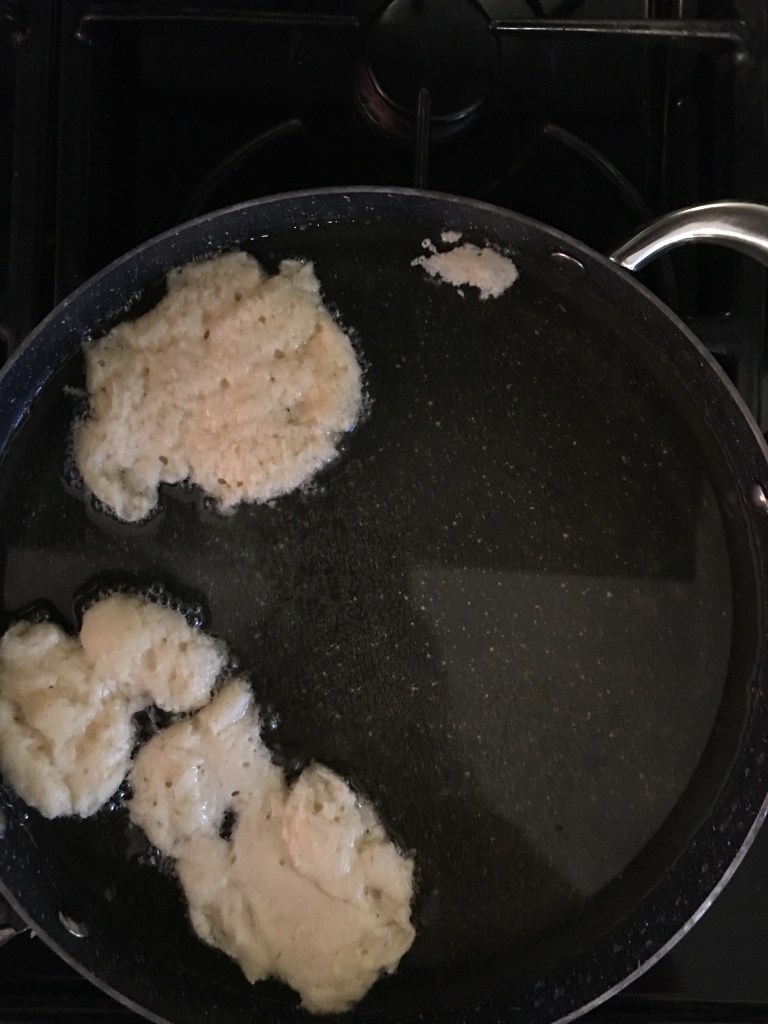
This is what the doughnuts looked like when I was not piping them in . . . not as pretty 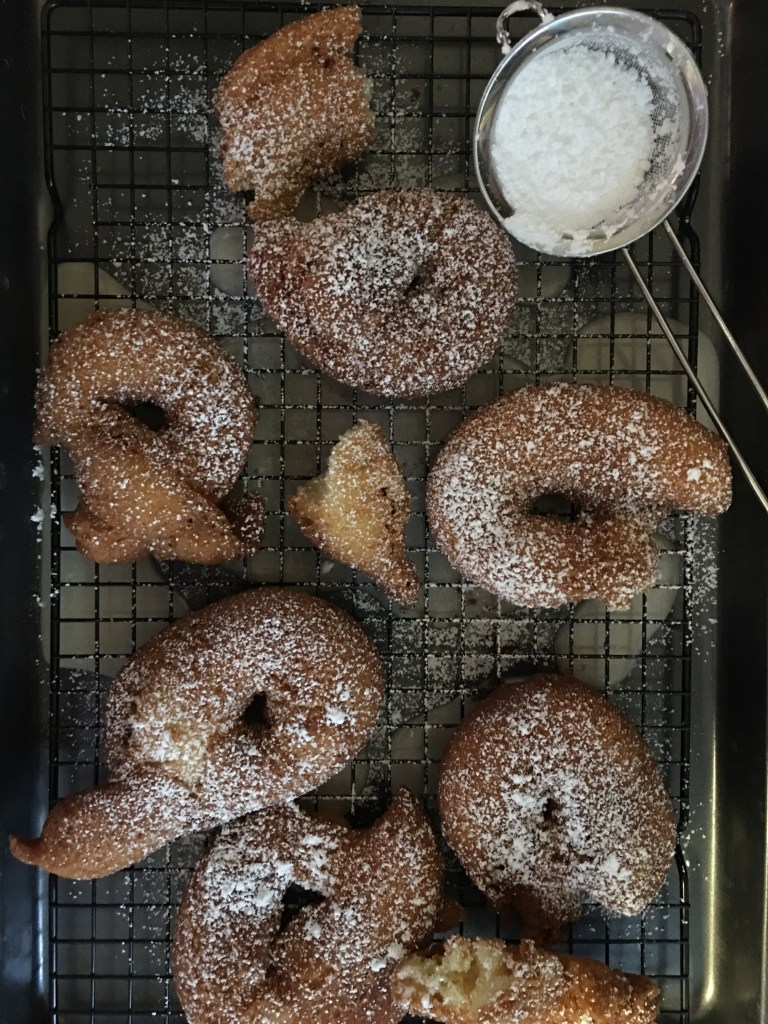
Closest to classic doughnut shape I could get but they sure did taste good!

“Rich delicious family stays dusty instead of eaten…”
Oh boy. I am going to love following your culinary and historical adventures. I could not love this more!!!
LikeLiked by 1 person
You’re wonderful to support me like this Kari honestly thank you 🙂
LikeLike